
Blog
KNX Villa Automation: How to Turn a Classic House into a Smart Home

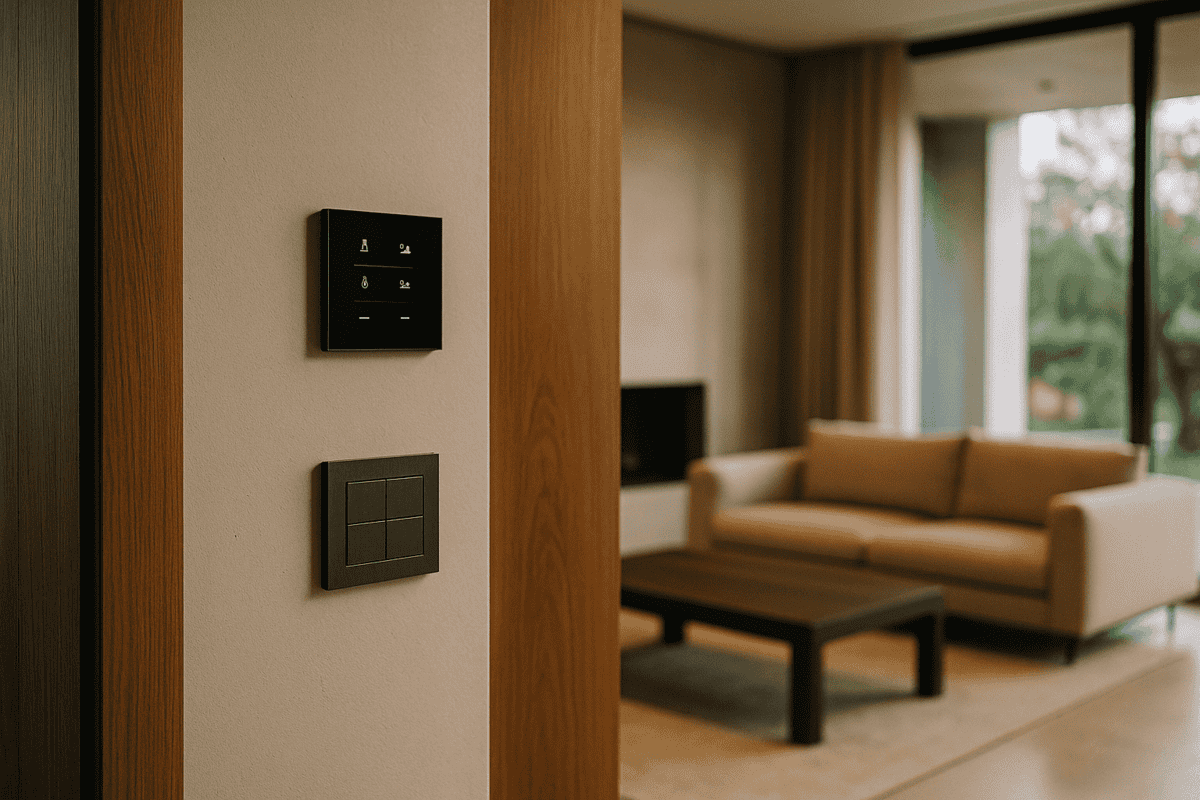
Let’s be straight about what KNX villa automation actually looks like in practice. The 300 m² project described here shows how a conventional house can become a fully integrated smart home — without tearing out the existing wiring. The owner came to us with a clear challenge: he wanted complete control over lighting, temperature and blinds, but with minimal disruption to a finished property.
The Problem: A Large Villa That Was Hard to Live In
KNX is the international open standard for building automation, recognised in over 190 countries. But understanding why it matters starts with understanding the frustration it solves.
The villa covered 300 m² across two floors, with 15 lighting circuits and 8 heating zones. The owner’s daily irritations were familiar ones:
- Walking through every room to switch off lights before bed
- Operating each set of blinds individually, room by room
- A single central thermostat with no per-room control
- No way to monitor or adjust the home remotely while travelling
The two main technical constraints were the finished electrical installation — the owner had no appetite for replastering walls — and the need to integrate with an existing underfloor heating system.
The KNX Solution: Thinking It Through Step by Step
The approach hinged on one core principle: mount KNX relay modules directly inside the existing wall switch back-boxes, not in the distribution board. This dramatically reduces the length of new cable needed and avoids opening walls.
We specified compact in-box KNX relay modules that fit inside a standard switch back-box, converting each switch position into an intelligent control node — no masonry work required.
Equipment Installed
The full KNX villa equipment list for this project:
- 25 × single-channel KNX relay modules for lighting control, installed inside existing switch back-boxes
- 8 × MDT AKK-0416.03 actuators for blinds and ventilation, mounted in the distribution board
- 6 × KNX room thermostats for independent per-room temperature control
- 1 × KNX web server for remote access and visualisation
- 4 × KNX touch panels in common areas for quick scene activation
The KNX bus cable — the dedicated two-wire line that carries data between all devices — was routed along existing cable management used for TV cabling. This alone saved roughly 40% of the installation cost compared with running entirely new conduit.
Before and After: The Concrete Difference
Before: To secure the house each evening, the owner walked approximately 200 metres across two floors, manually operating 25 switches and 12 blind controls. The nightly “shutdown” routine took 8–10 minutes.
After: A single “Good Night” button beside the bed switches off every light, closes all blinds and drops the heating setpoint by 2 °C — in under 30 seconds. The owner can also check and control the entire property from anywhere via a mobile app.
Results After the First Year
Twelve months of operation produced measurable outcomes:
- 23% reduction in electricity bills through automated lighting management and zone-based heating optimisation
- 100% system uptime — no failures recorded in the first year
- 45 minutes saved per week by eliminating manual control of lights and blinds
- Remote access used on 85% of trips away from home — the owner regularly checks and adjusts the house while travelling
“The biggest surprise was that it doesn’t feel like a complicated system. Everything works naturally, as if the house had been designed this way from the start.” — Owner feedback at the six-month check-in.
The total project cost was approximately €18,500, covering all hardware, installation labour, ETS programming and commissioning. Costs for comparable projects across Europe typically range from €15,000 to €25,000 depending on house size, equipment specification and existing infrastructure.
Four Lessons From This Project
Anyone planning a similar KNX villa automation will find these points useful:
- Map your existing infrastructure first. Reusing cable routes for TV, telephone or data can cut installation costs by 30–40% compared with running new conduit.
- Prioritise by impact. Starting with lighting and blinds delivers high perceived value at moderate cost; per-room heating control can follow as a second phase.
- Specify quality hardware. Reputable KNX manufacturers typically offer 10-year warranties and long-term product continuity — important for a system you expect to run for decades.
- Design for growth. The installation supports future additions — security, energy monitoring, irrigation — without touching the existing bus wiring.
Critically, you avoid vendor lock-in. KNX is an open standard with over 500 certified manufacturers worldwide, which means the system remains supportable regardless of which individual brands come and go.
Frequently Asked Questions
How long does it take to install KNX in a villa?
For a 300 m² retrofit like this one, physical installation takes 5–7 working days with a two-person team. ETS programming and commissioning adds another 2–3 days. Allow roughly two weeks from start to handover of a fully operational system.
What happens if part of the KNX system develops a fault?
KNX operates in a decentralised architecture — each device holds its own logic. If one actuator fails, only the function it controls is affected; the rest of the house continues to operate normally. Physical switches remain functional for manual override at any time. A structured maintenance and remote support plan is the most efficient way to ensure fast response if anything does go wrong.
Can the system be extended after initial installation?
Absolutely. This installation was designed with expansion in mind. Security integration, energy management, pool control or EV charging can all be added later by connecting new devices to the existing bus and updating the ETS project. The KNX standard supports up to 65,000 devices on a single installation — headroom is not a concern.
For a broader look at how KNX compares with other smart home platforms, see our guide on KNX vs Tuya vs Loxone, or browse the KNX FAQ for answers to common technical questions.
If you are planning a villa automation project — new build or retrofit — we are happy to talk through the options with no obligation. Request a free consultation and one of our KNX engineers will get back to you, usually within one working day.